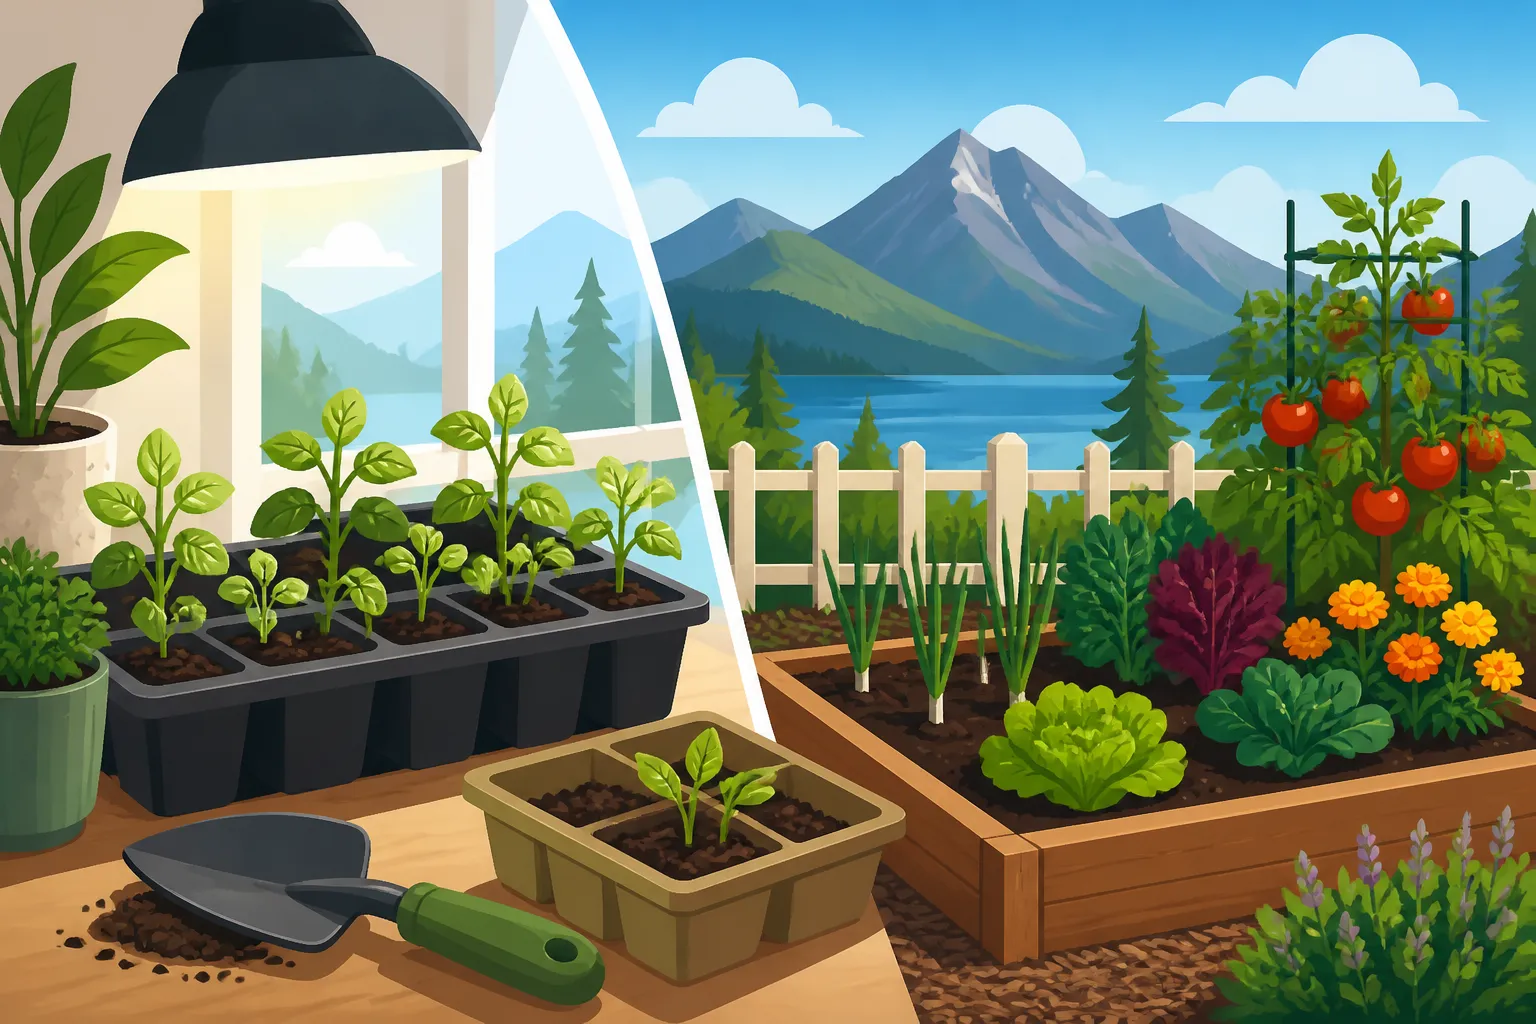
Kootenai County April Planting: Indoors and Garden Beds
April can bring workable garden days to Kootenai County, but it can also bring cold soil, saturated beds and a sudden return to freezing weather. The key is to match each task to conditions: sow hardy crops when the ground is ready, start suitable seedlings indoors and hold tender plants back until they can safely move outside.
The April planting strategy for Kootenai County
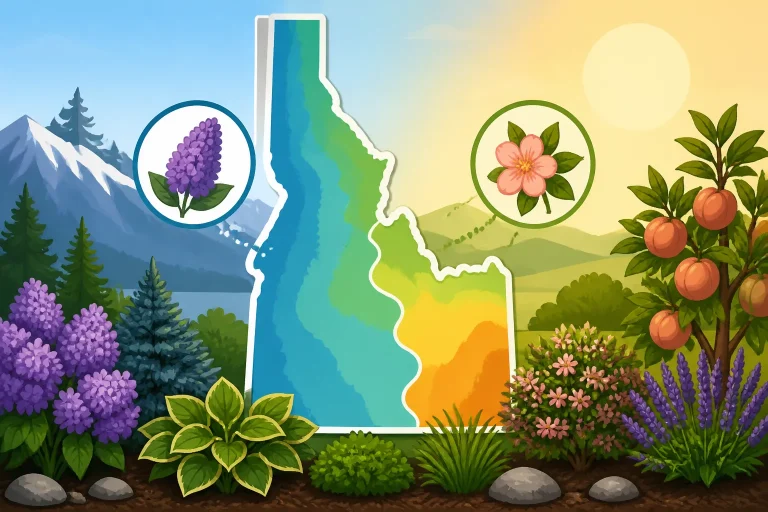
April is best treated as a transition month, not a single planting date. The garden may be ready for peas or spinach while the soil is still too cold and wet for warm-season crops. Conditions also vary within the county: a sunny, sheltered bed can warm sooner than a low spot, a shaded garden or a site exposed to cold air and wind.
That means a calendar is useful for organizing work, but it cannot tell you by itself whether a particular bed is ready. Before planting, check the soil, the short-range forecast and the needs of the crop. If the ground is cold, sticky or saturated, waiting a few days can be more productive than working it early.
A useful April split is:
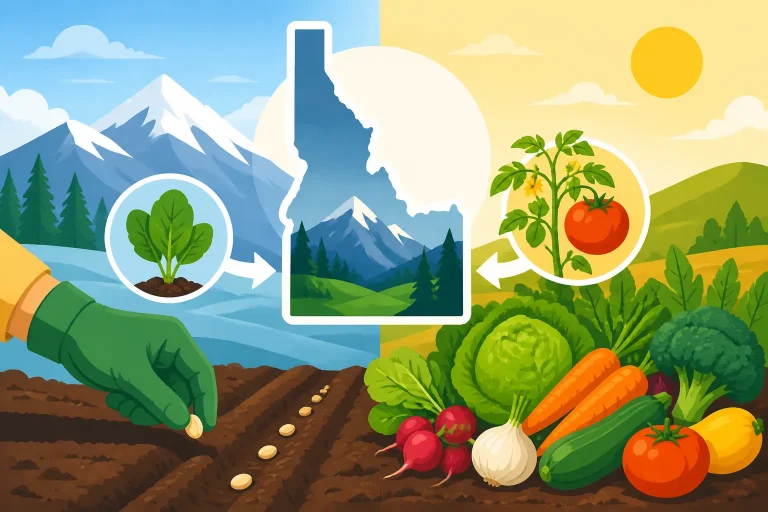
- Garden beds: Prepare the soil when it is no longer waterlogged, then sow hardy, cool-season crops in suitable conditions.
- Indoors: Start or continue seedlings that need a protected beginning, using the crop’s expected transplant window to guide timing.
- Outdoors under protection: Harden off appropriate transplants gradually, and use covers only with a plan to manage heat and ventilation.
- Later in the month or beyond: Keep tender warm-season plants protected until both frost risk and soil conditions are suitable.
April planting does not eliminate the risk of a freeze. Average frost dates describe probabilities rather than guarantees, and local results vary from year to year. Use a nearby weather station’s frost information as context, not as a promise that the last cold night has passed. For a broader regional perspective, see Idaho Frost Timing and Growing Seasons: A Regional Overview and Finding Freeze Dates for Your Nearest Local Idaho Weather Station.
The simplest rule is to make decisions crop by crop. A hardy seed can often tolerate conditions that would stall a pepper transplant. A bed that is ready for a shallow sowing may still be too cold for a crop that needs warm soil to germinate. And a mild afternoon does not prove that nights will stay mild.
| April task | Good readiness cues | Common reason to wait |
|---|---|---|
| Prepare a garden bed | Soil crumbles rather than smearing when handled; the surface is not saturated | Soil clumps, shines with water or compacts underfoot |
| Sow hardy cool-season crops | Bed is workable and the crop tolerates cool conditions | Seedbed is frozen, waterlogged or likely to wash out |
| Move seedlings outside temporarily | Plants have been hardened off and conditions are suitable | Wind, strong sun or an overnight freeze is expected |
| Set out tender warm-season crops | Frost risk is acceptably low and the soil is warm enough for the crop | Cold nights, cold soil or an extended cool spell remains likely |
| Start seeds indoors | The seedling will have enough time to grow before its safe outdoor planting window | Starts would become overgrown before the bed is ready |
Check the garden bed before planting
A bed can look ready from the path and still be too wet to work. In early spring, soil that is saturated or only partly thawed is easy to compact. Compaction reduces the air spaces that roots need and can leave a surface that crusts or drains poorly after it dries.
Test soil moisture by touch
Choose a small area and take a handful of soil from a few inches below the surface. Squeeze it gently, then open your hand.
- If it stays in a dense, sticky ball or smears across your fingers, it is probably too wet to dig or rake.
- If it forms a loose clump that breaks apart with a light touch, it may be workable.
- If it is dry and dusty at the surface but wet below, check farther down before deciding.
This simple test is not a substitute for understanding your soil, but it helps prevent one of the most common spring mistakes: turning wet soil into hard clods that are difficult to prepare for sowing. If a bed is not ready, use the time for seed sorting, tool cleaning, indoor sowing or checking supports rather than forcing the soil.
Start with drainage and bed condition
Look for standing water, slow-draining corners and areas where soil has settled over winter. A raised bed may drain sooner than a low in-ground bed, but it can also dry faster and be more exposed to wind. Neither type is automatically ready: test the actual soil where you plan to plant.
Remove dead plant material and visible weeds without digging deeply into wet ground. If the bed has a mulch layer, move it aside where you intend to sow and return it later between rows, rather than burying tiny seeds under a thick covering. For guidance on choosing between bed styles and building a suitable structure, see Setting Up Open-Bottom Raised Beds over Dense Idaho Soil and Building Framed Raised Beds for Vegetables: Depth and Spacing.
Avoid adding fertilizer simply because the season is starting. Plants need nutrients, but an unnecessary application can create problems and does not fix cold, compacted or poorly drained soil. If you are unsure what a bed needs, base amendments on a soil test and follow the product label for any fertilizer used. A practical overview of soil preparation is available in Idaho Soil Fertility: Testing, Amendments, and Nutrients.
Make a small test sowing if conditions are uncertain
When a bed seems close to ready, sowing a short row or a small patch can be a useful trial. Mark the planting so you can check germination and moisture without disturbing it. If a test sowing struggles because the seedbed is cold, crusted or waterlogged, you have limited the loss and can adjust before planting the full row.
This is especially useful when different parts of the garden behave differently. A sheltered bed beside a sunny wall may be ready before an exposed plot, while a low area may remain wet long after the surrounding ground has dried. Let the bed’s actual condition—not the date on the calendar—guide the next step.
Direct-sow hardy crops when the soil is workable
April is a good time to consider hardy cool-season crops, but “cool-season” does not mean “plant in any conditions.” Seeds still need appropriate moisture, oxygen and temperature to germinate. The right timing depends on the crop, the seedbed and the weather.
Common candidates for early sowing include peas, spinach, lettuce, radishes, carrots, beets, turnips and some other leafy or root crops. The specific crop and variety matter, so check the seed packet for sowing depth, spacing and germination guidance. For a crop-by-crop overview focused on northern Idaho, see Sowing Hardy Cool-Season Crops Before North Idaho Spring Thaws and Timing Early Garden Beds: What Can Go into Cold Idaho Ground First.
Group crops by how they are planted
Some seeds are relatively quick to sow and can be placed in rows as soon as the bed is workable. Radishes and leafy greens are often convenient choices for a first small sowing. Root crops such as carrots need a reasonably fine, stone-free surface so seedlings can emerge and roots can develop without obstruction. Peas need support if the chosen type grows tall, so install trellising before the plants become difficult to reach.
Crops such as spinach and lettuce can be useful for successive sowings. Rather than planting a large amount at once, sow a smaller section and repeat later if conditions and space allow. This spreads the harvest and avoids having every plant mature at the same time. If you are growing several cool-weather crops, the broader Idaho Vegetable Sowing Guide: Spring Timing for Cool and Warm Crops can help you compare their needs.
For each crop, pay attention to:
- Planting depth: Seeds sown too deeply may fail to emerge, while seeds left on a dry surface may not get reliable moisture.
- Row spacing: Enough room improves access for thinning, watering and weeding.
- Thinning: Dense seedlings compete and can produce smaller roots or crowded leaves. Follow the packet guidance and thin when plants are large enough to handle.
- Moisture: Keep the seed zone evenly moist, not waterlogged. A light watering may be needed if wind and sun dry the surface.
- Labels: Mark crop, variety and sowing date so you can distinguish seedlings and assess germination.
Do not assume that watering needs are the same across a bed. A raised or sandy area can dry sooner than heavy soil or a sheltered corner. Check the top layer where seeds are germinating, rather than watering automatically on a fixed schedule.
Use protection without treating it as a substitute for timing
A row cover can help buffer plants from some cold and wind, but it does not make every crop safe from every freeze. Protection varies with the material, how it is installed, the severity and duration of cold, and whether the cover is secure. It can also trap heat on sunny days, so check covered beds and ventilate as needed.
For vulnerable seedlings, a cover is best considered one layer of risk management, not permission to plant a tender crop into cold ground. Choose covers designed for garden use, secure the edges and make sure plants have room beneath them. The guide Which Idaho Garden Crops Need Row Covers During Spring Frosts? explains how to think through crop tolerance and protection.
Avoid planting into a muddy seedbed
A seedbed that is too wet can be hard to prepare evenly. Seeds may sit in cold, saturated soil, wash from their rows or be covered by a crust after the surface dries. If the bed is sticky underfoot, postpone sowing. A short delay in favorable conditions is often better than a rushed planting that needs to be resown.
When you do sow, aim for a fine, level surface without pulverizing wet soil. Water gently enough that seeds remain in place. If heavy rain is expected, consider waiting or protecting the bed from erosion rather than sowing just before a downpour.
Transplant hardy starts carefully
Some vegetables are often grown from transplants rather than direct-sown into the garden. Cabbage-family crops such as broccoli, cabbage and kale may be started indoors or bought as young plants, depending on the gardener’s setup. Onion starts and other suitable transplants can also be considered when the bed is workable and the plants are properly prepared.
A transplant that tolerates cool weather still needs time to adjust. Plants raised indoors are accustomed to steady conditions and may be damaged by strong sun, drying wind or a sharp drop in temperature. Moving a tray directly from a sheltered room to an exposed bed can cause stress even when the crop is generally considered hardy.
Harden plants off before planting
Hardening off is the gradual process of acclimating indoor-grown seedlings to outdoor conditions. Begin with limited exposure in a sheltered spot, then increase the time outside and introduce more direct sun and air movement gradually. Bring plants back to shelter when conditions are unsuitable, especially if a cold night, strong wind or severe weather is forecast.
The goal is not to make seedlings tough by exposing them to the harshest day available. It is to let leaves, stems and roots adjust in stages. Watch the plants while they are outside: wilting, scorched leaves or a visibly stressed appearance are reasons to provide shelter and adjust the pace.
For a practical sequence, see Starting Warm-Season Seedlings Indoors and Hardening Them Off. Although that article focuses on warm-season seedlings, the gradual-acclimation principle is useful for many indoor-grown transplants.
Plant when the soil and forecast cooperate
Before transplanting, choose a day when the soil is workable and the immediate forecast is not unusually harsh. Cloudy, calm conditions can reduce stress compared with a bright, windy afternoon. Water the seedlings as appropriate before planting, handle them gently and avoid breaking the root ball more than necessary.
Set plants at the depth recommended for the crop. Firm the soil gently around the root ball so roots make contact with the surrounding soil, then water to settle the planting area. Do not leave a newly planted transplant dry while it adjusts. At the same time, avoid saturating a bed that already drains slowly.
A transplant can be covered during a cold night if the protection is suitable, but do not assume that a cover solves every freeze risk. Check the forecast, the crop’s tolerance and the protection method together. If the forecast is uncertain and moving the plants back to shelter is practical, holding them in their containers may be the safer option.
Keep a record of early plantings
Write down the crop, variety, planting location and whether it was covered. Note when seedlings emerged or how transplants responded. A basic record helps distinguish a problem caused by cold soil from one caused by seed quality, poor moisture or overcrowding. It also gives you a better starting point for next spring than relying on memory alone.
Start the right seeds indoors
Indoor seed starting is most useful when it gives a crop a meaningful head start without leaving the seedlings cramped or overgrown while outdoor conditions remain unsuitable. The best time to start depends on the crop’s growth rate, the amount of light and space available, and when the plants can safely be transplanted.
For northern Idaho, warm-season crops commonly started indoors include tomatoes, peppers and some cucurbits, but the timing differs by crop. A plant that grows quickly can become root-bound if started too early. A slower crop may need a longer indoor period. Use the seed packet’s guidance and work backward from a realistic outdoor planting window rather than starting everything at once. Starting Vegetable Seeds Indoors for Northern Idaho Seasons offers more detail on matching indoor starts to the region.
Choose crops that benefit from a protected start
Starting indoors is not automatically better. Some crops are usually easier to sow directly where they will grow, especially if they dislike root disturbance or germinate readily in garden soil. Other crops benefit from the controlled conditions and extra time provided by indoor sowing.
A useful comparison:
| Crop or crop group | Common approach | April planning point |
|---|---|---|
| Peas, carrots, radishes and many leafy greens | Direct sow | Wait for workable soil; follow seed depth and spacing guidance |
| Tomatoes and peppers | Start indoors or grow from transplants | Keep protected until frost risk and soil conditions suit the crop |
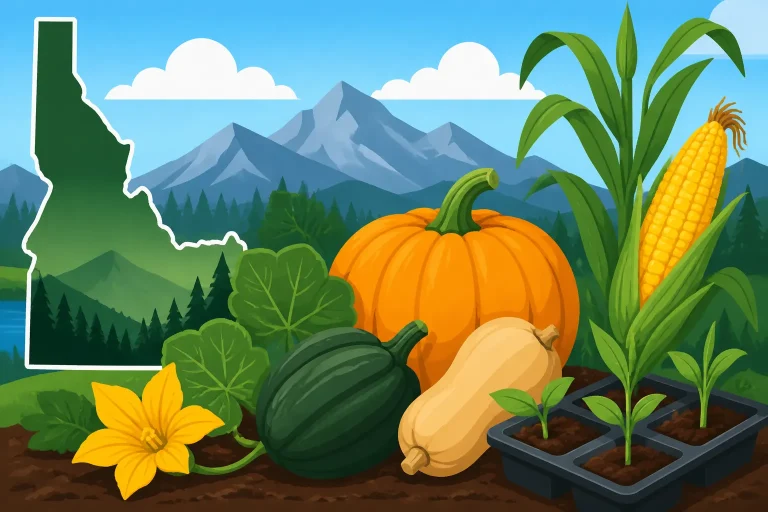
| Squash and melons | Often started indoors or sown outdoors later | Avoid starting so early that plants outgrow their containers |
| Cabbage-family crops | Indoor starts or young transplants | Harden off gradually and check the crop’s cold tolerance |
| Beans and corn | Commonly direct-sown in warmer conditions | Cold soil can delay emergence; do not use a calendar date alone |
This table is a planning aid, not a fixed schedule. Variety, seed packet recommendations, indoor conditions and local weather all affect what works.
If you have limited space or light, prioritize crops that genuinely benefit from an indoor start. Direct-sowing easy crops later can be simpler than managing too many trays. For the trade-offs between the two methods, see Direct Sowing vs Indoor Seed Starting for Idaho Gardens.
Give seedlings enough light and room
Seedlings need strong light soon after emergence. A bright window may not provide enough, especially if plants become tall, pale or bent toward the glass. If using a grow light, follow the equipment guidance and keep the light positioned to provide useful coverage without overheating the seedlings. Turn trays as needed if light comes unevenly from one direction.
Crowded starts compete for light and airflow. Thin or pot up plants when appropriate, and avoid keeping seedlings constantly wet. A clean container with drainage, suitable seed-starting mix and careful watering help reduce common early problems. Water gently so the seed surface does not wash away, and allow excess water to drain.
Check seedlings daily during active growth. Indoor conditions can change quickly: a sunny window may heat the tray, a heating vent may dry it, and a damp surface can encourage problems. Keep labels with each tray, especially if several varieties look alike at the seedling stage.
Do not let a head start become a setback
Seedlings that stay indoors too long can become tall, tangled or root-bound. They may also struggle when abruptly exposed to wind and direct outdoor sun. If the garden is not ready, use a larger container if the crop requires it and the plant has room to grow, or adjust the next batch of sowing rather than trying to keep every plant indefinitely.
For warm-season crops, the decision to move outdoors should account for more than the afternoon temperature. Consider night temperatures, frost forecasts, soil warmth and the crop’s sensitivity. A warm spell can be followed by colder weather, so keep a backup plan: leave seedlings protected, use suitable temporary cover or delay transplanting.
Plan for false springs, wind and late cold
A few mild days can make the garden feel ready before it is. In Kootenai County, April plans should include a response to renewed cold, not just a target planting date. A weather forecast is useful, but conditions in a backyard can differ from a regional forecast because of elevation, slope, wind exposure, buildings and cold-air pockets.
Cold air tends to collect in low spots, while sheltered walls and other protected places may warm sooner. A fence or structure can reduce wind, but it can also affect how air moves around a garden. Keep track of where frost or cold damage appears. Over time, those observations help you decide which beds are suitable for early sowing and which need more caution. See Understanding Freeze Risk Across Idaho Microclimates and Protecting Transplants When False Spring Turns Freezing in Idaho for more on managing these local variations.
Protect plants with a simple, repeatable plan
Before a cold night, decide which plants need attention and how you will protect them. Young transplants and tender starts are usually more vulnerable than established hardy crops, but tolerance depends on the crop, plant age and conditions. Covering everything the same way may waste effort or create heat buildup in the wrong conditions.
A practical routine is:
- Check the forecast for both the expected low and the possibility of wind or precipitation.
- Identify the most vulnerable plants and any seedlings that can be moved back to shelter.
- Secure appropriate covers before temperatures fall, leaving enough space so the material does not crush the plants.
- Check covered beds the next day and vent or remove covers when conditions become warm.
- Inspect plants after the event before deciding whether they need further protection or replacement.
A cover is not a guarantee against damage. Its effectiveness depends on the material and installation, and severe cold may still injure plants. Do not use a heat source unless it is specifically designed for that purpose and used according to its instructions. For additional cover options, see Using Hot-Caps and Paper Covers on Cold Idaho Spring Nights.
Treat wind as a separate stress
Spring wind can dry seedlings, loosen covers and damage tender leaves even when temperatures are not especially low. Water newly planted crops as needed, but do not compensate for wind by keeping cold soil saturated. A sheltered location can help, and a secure cover can reduce exposure, but make sure the plants still receive adequate ventilation.
For indoor-grown transplants, wind is one reason hardening off should be gradual. Give plants some exposure in a protected place before placing them in a more exposed bed. If a windy day is expected, wait to transplant or keep the plants sheltered rather than testing their limits.
Know when to wait rather than rescue
It is tempting to plant during a warm spell and plan to cover the garden later. That may work for hardy crops in a ready bed, but it adds risk for tender starts and crops that need warm soil. If a crop is not suited to cold conditions, postponing planting is often more reliable than trying to rescue it through repeated cold snaps.
Waiting does not mean losing the season. Seeds can be started indoors, beds can be prepared when dry enough, and tools or supports can be arranged in advance. A short delay can also keep seedlings from sitting in cold soil and struggling to grow.
A week-by-week approach to April garden work
A weekly routine keeps the garden moving without treating every task as urgent. The sequence below is flexible: some years a bed may be workable early in the month; in others, repeated rain or cold can push sowing later. Use the actions as checkpoints rather than fixed dates.
Early April: assess and prepare
Start by checking which beds are thawed, which drain well and which remain wet. Clean up what can be removed without compacting the ground. Sort seeds, check labels and make a list of what you want to grow. If indoor seedlings are already growing, inspect their light, moisture and space.
Do not till or dig a bed just because the surface looks dry. Test below the surface first. If it is too wet, avoid walking across it and use the time to repair tools, arrange supports or sow a suitable crop indoors.
If conditions are workable, prepare only the area you plan to use. Direct sowing a small section of a hardy crop is a reasonable way to begin, rather than planting the entire garden at once. Make sure you can identify the row and water the seed zone gently.
Mid-April: sow selectively and watch the forecast
As beds become workable, consider additional hardy crops that suit direct sowing. Check seed depth and spacing, and label each row. If the weather turns cold, protect seedlings appropriately without assuming that protection makes every crop safe.
Continue indoor sowing only when there is a reason to do so. Consider how much time a seedling will spend indoors and whether you will have space to pot it up. Harden off plants that are approaching their transplant stage, but pause or slow the process during periods of rough weather.
Late April: review what is growing
Check germination and inspect for crusting, washout, weeds and uneven moisture. Do not immediately resow every slow patch: some seeds take longer in cool conditions. Compare emergence with the seed packet’s expectations and check whether soil temperature or moisture may be delaying the crop.
Transplant hardy starts only when they have been acclimated and the forecast is suitable. Keep tender warm-season plants protected if nights remain cold or the soil is not ready. For local warm-season planting decisions, see Planting Warm-Season Crops in Kootenai County After Frost and Why Warm-Season Vegetables Need Warm Soil, Not Just Frost Dates.
Keep notes for next spring
Record what you planted, where it went and what conditions followed. Include whether you used a cover, how the bed drained and whether seedlings emerged evenly. Note which areas warmed first and which stayed wet. These observations can help you build a more dependable personal planting calendar over time.
A useful note does not need to be elaborate. A few lines such as “spinach emerged well in the raised bed; lower plot stayed wet” or “transplants needed wind protection” can be more valuable than a generic date. The goal is to learn how your own garden responds, while still checking current forecasts and crop guidance each season.
Frequently Asked Questions
What vegetables can I plant outside in Kootenai County in April?
Hardy cool-season crops such as peas, spinach, lettuce, radishes, carrots, beets and turnips may be candidates when the soil is workable. The right choice depends on the crop’s instructions, bed conditions and forecast. Avoid sowing into frozen or waterlogged soil.
Is April too early to plant tomatoes outdoors?
It may be too early if frost risk remains, nights are cold or the soil has not warmed. Keep tomatoes protected and use local frost information as context, not a guarantee. Wait until conditions suit the crop rather than relying on a particular April date.
Should garden soil be fertilized before April planting?
Not automatically. Fertilizer does not correct wet, compacted or cold soil, and unnecessary applications can create problems. Base amendments on a soil test when possible and follow the product label for any fertilizer you use.
Do row covers prevent frost damage?
They can reduce exposure under suitable conditions, but they are not a guarantee. Protection depends on the cover, installation and severity of the cold. Check plants and covered beds, and follow the cover’s care and ventilation guidance.
Disclaimer
This article is for general informational purposes only and does not constitute professional advice. Laws, prices and regulations vary by location and change over time. Consult a qualified professional for guidance on your specific situation. Idaho Gardening Guide is not a government agency and is not affiliated with any university extension, state department of agriculture or other government agency.